Mar 26, 2018
Part 3: Hotel Customer Journey Case Study
Now that we’ve briefed you on the importance and purpose of a customer journey in parts 1 and 2 we’d like to talk about how to apply that strategy for the hotel industry. Specifically how to enhance your audience’s journey within the TrueTour® platform to provide them with valuable information and make their experience not just enjoyable, but effortless as well.
In this post we will be breaking down a relevant case study and offering additional suggestions. Although we describe the customer journey for the hospitality industry, most of the top-level content and questions can still be applied to a customer journey for any company type.
Case Study: Paséa Hotel & Spa
Consider the following example of the beautiful Paséa Hotel & Spa in Huntington Beach, California. Here we have a TrueTour for a hotel in the hospitality industry. Ultimately, this hotel wants to book more customers along with providing an easier and quicker booking experience. There’s a few things we want to point out here. Pay attention to the very first thing that appears when the TrueTour loads.
Right away we see the hotel’s logo. Use a logo that is of high-resolution and recognizable. This will be the first thing they see so you want to make sure it isn’t outdated or pixelated. By including a recent logo you are keeping your branding and aesthetic consistent.
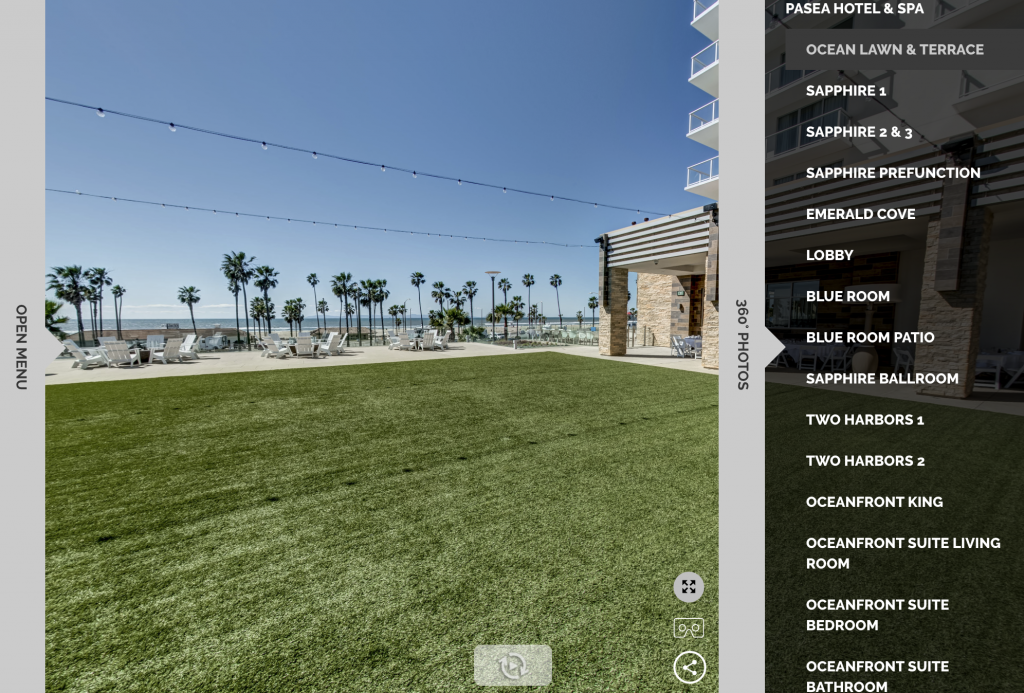
The next thing we see is a 360º photo of their terrace. This image works for the first 360º since it clearly shows off one of their best features, an oceanside view. A 360º photo or video gallery is a great way to open up your TrueTour as it provides users with some visual eye-candy right off the bat.
Another point to mention along the lines of the 360º gallery is order of your content. If your lobby is a distinguishable feature of your hotel open with that. Beginning with an image that they would see upon arrival of the hotel is welcoming and and shows them what to expect.
Then you can either move into the event space or the various rooms and suites. Choose based on what you’d like to see convert more. Will you be sending your TrueTour to more people looking to host an event or to potential hotel patrons that want to book a stay?
A good way to go about this process is to imagine that you’re giving a physical tour. Map out where you would start and what order you would show each space. Your TrueTour acts just like that but in a digital sense so it’s important to run through your customer’s journey and what will appeal to them the most.
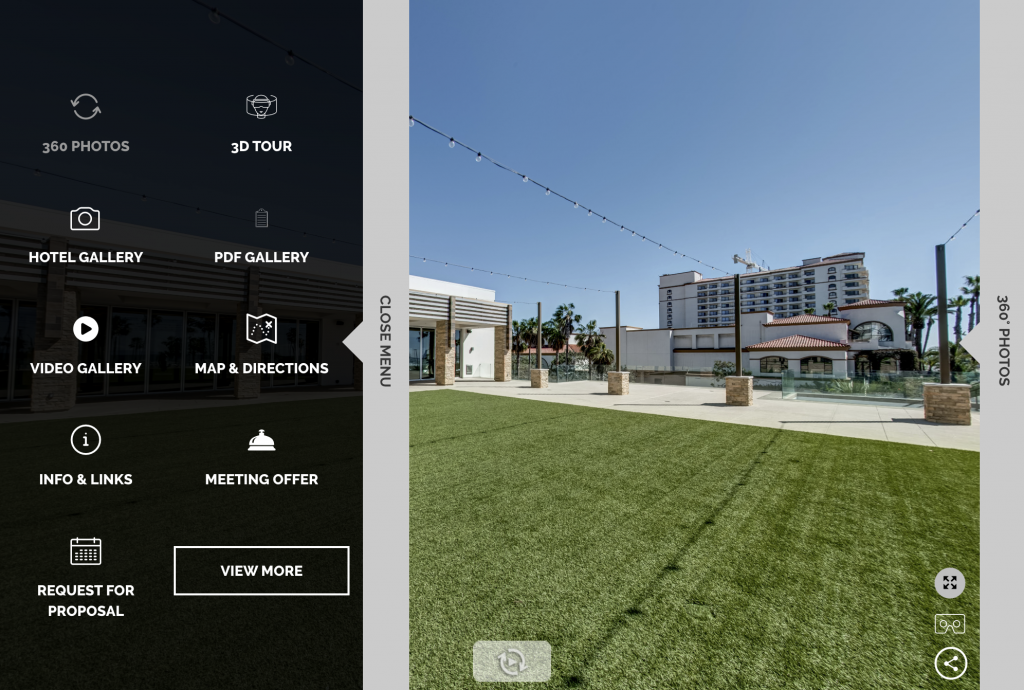
Let’s pay close attention to the order of their menu items. In the US, most people read from left to right so we can assume they’ll notice the top left item first, followed by the top right item, going left to right in each row. First, the start with 360º Photos, then 3D Tour, followed by Hotel Gallery, PDF gallery, Video Gallery, Map & Directions, Info & Links, Meeting Offer, RFP, and finally VR Instructions on the second page.
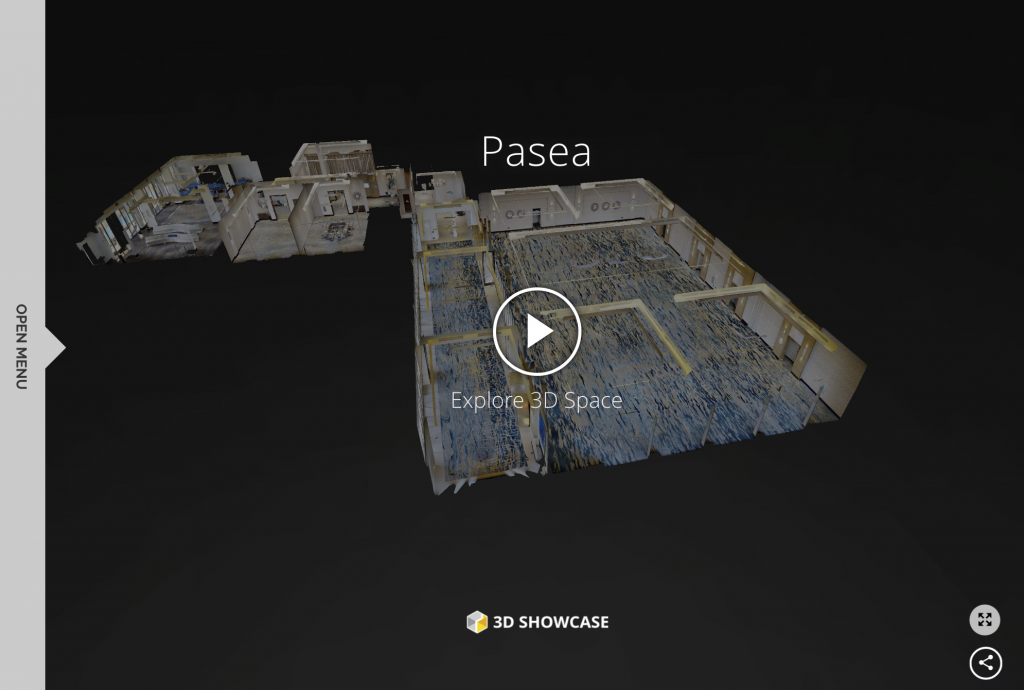
3D tours act great as a second menu item because once you capture their attention with the 360º photos you are inviting them to explore on their own. It’s exactly like they are physically visiting and touring your facilities at their own pace. They can all access the dollhouse view which it great as a quick overview of your hotel or for event planning.
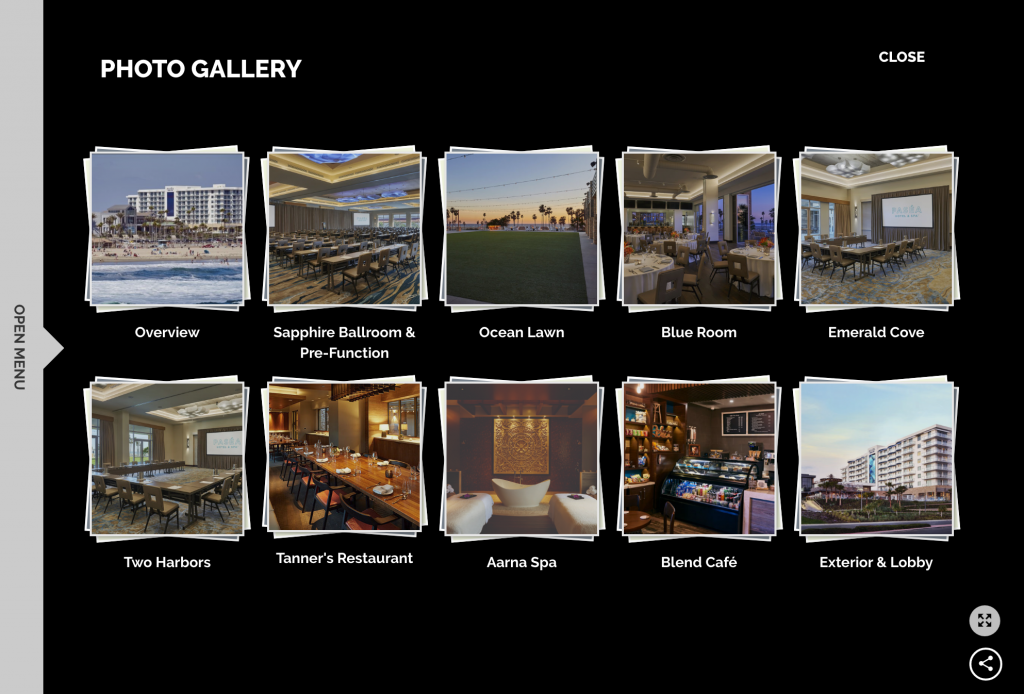
The next item in the menu is the photo gallery. Although you’ll have wonderful 360º and 3D content to show off photos are a bit easier for your company to produce on a whim. Use this space as a way to showcase recent happenings or features at your location.
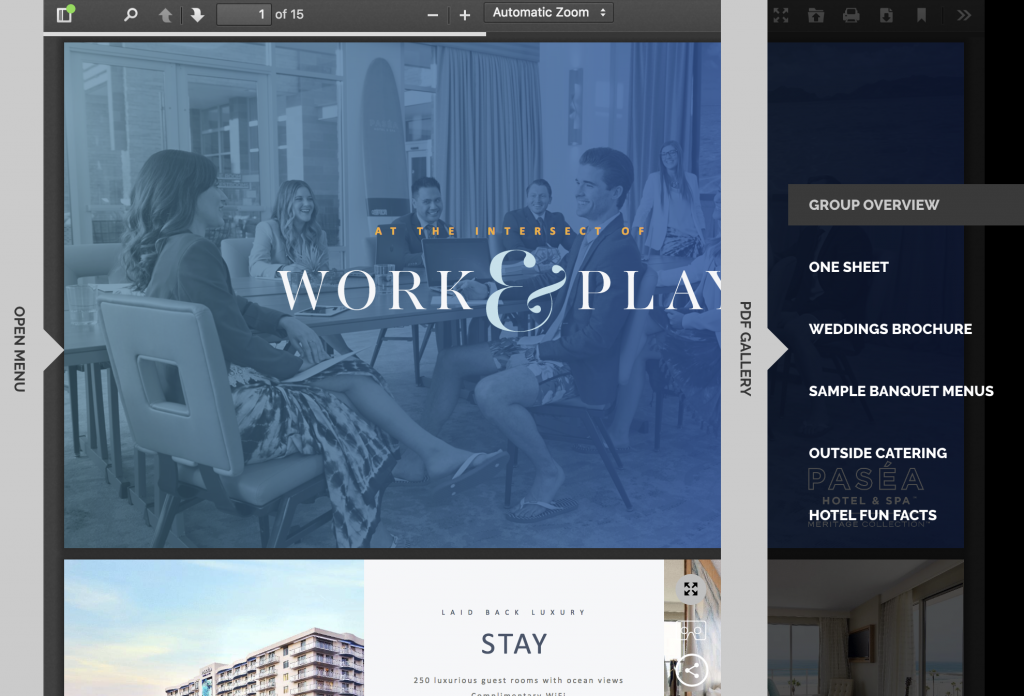
The PDF gallery is the spot to include all your PDF’s that you would typically send to your customers. For hotels it’s a wonderful place to hold any one-sheets. catalogs/brochures of the services you offer, hotel restaurant or catering menus, and more! Anything that you can send via mail or email can be added in here.
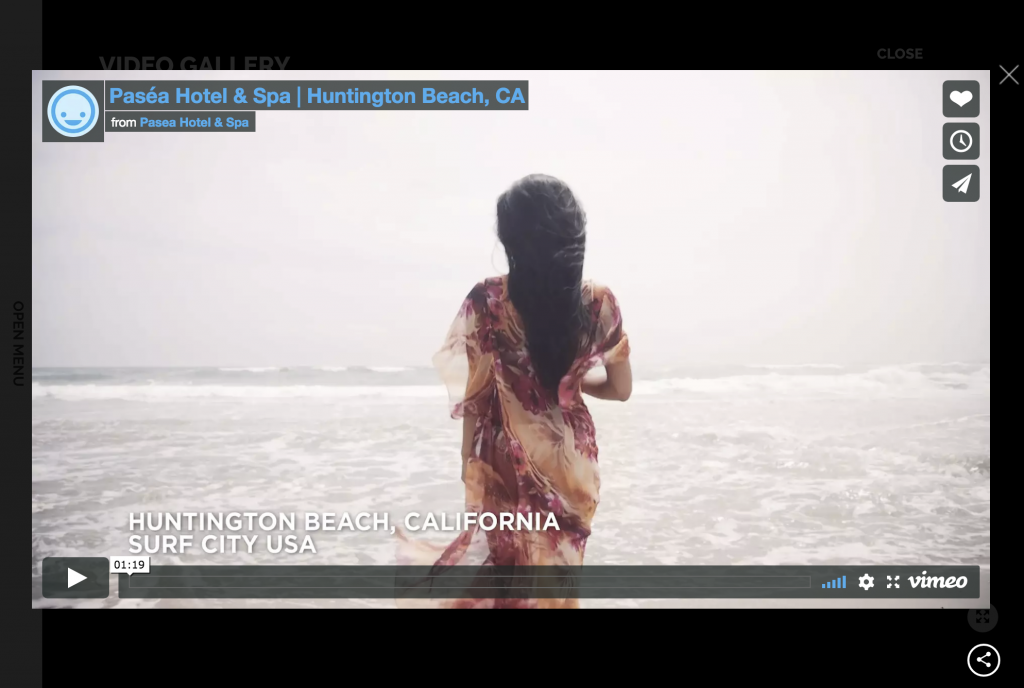
The video gallery is a wonderful place to host commercials or video assets that you’ve created for your space. In our example Pasea Hotel shows a stunning visual video that simply presents the experience to expect.
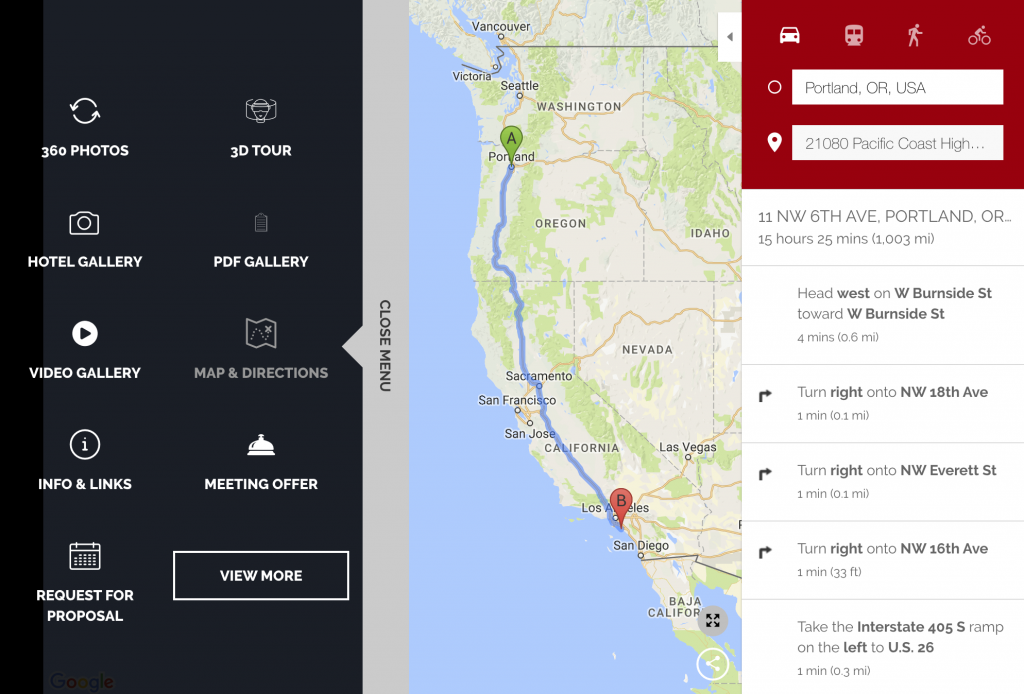
Once you’ve hooked them in with amazing content and imagery provide them with important information like the map & directions or additional info & links. Give them the details they need to make that final decision in the buying process.
Finally, wrap up the customer journey with a call to action. In the example you’ll find that Pasea Hotel created menu items for both a special offer and a request for proposal.
As you would with any form of advertising, marketing, or sales first begin by enticing your audience, peaking their interest, giving them valuable information to make their decision, and a clear call to action. This will make their customer journey easy and leave you with effective results.
This wraps up part 3 of our customer journey series. Stay tuned for parts 4 and 5 over next few weeks. For those of you also in the private event industry we will following a similar structure to this post as we dive into a event facility case study. Then we conclude this series in part 5 with ideas to enhance your customer journey using creative campaigns.
If you are finding this series helpful please let us know in the comments below. What other topics would you like to see us expand on with a series? We are happy to accommodate to any blog requests. Until next week!
Mar 26, 2018
Part 3: Hotel Customer Journey Case Study
Now that we’ve briefed you on the importance and purpose of a customer journey in parts 1 and 2 we’d like to talk about how to apply that strategy for the hotel industry. Specifically how to enhance your audience’s journey within the TrueTour® platform to provide them with valuable information and make their experience not just enjoyable, but effortless as well.
In this post we will be breaking down a relevant case study and offering additional suggestions. Although we describe the customer journey for the hospitality industry, most of the top-level content and questions can still be applied to a customer journey for any company type.
Case Study: Paséa Hotel & Spa
Consider the following example of the beautiful Paséa Hotel & Spa in Huntington Beach, California. Here we have a TrueTour for a hotel in the hospitality industry. Ultimately, this hotel wants to book more customers along with providing an easier and quicker booking experience. There’s a few things we want to point out here. Pay attention to the very first thing that appears when the TrueTour loads.

Right away we see the hotel’s logo. Use a logo that is of high-resolution and recognizable. This will be the first thing they see so you want to make sure it isn’t outdated or pixelated. By including a recent logo you are keeping your branding and aesthetic consistent.

The next thing we see is a 360º photo of their terrace. This image works for the first 360º since it clearly shows off one of their best features, an oceanside view. A 360º photo or video gallery is a great way to open up your TrueTour as it provides users with some visual eye-candy right off the bat.

Another point to mention along the lines of the 360º gallery is order of your content. If your lobby is a distinguishable feature of your hotel open with that. Beginning with an image that they would see upon arrival of the hotel is welcoming and and shows them what to expect.
Then you can either move into the event space or the various rooms and suites. Choose based on what you’d like to see convert more. Will you be sending your TrueTour to more people looking to host an event or to potential hotel patrons that want to book a stay?
A good way to go about this process is to imagine that you’re giving a physical tour. Map out where you would start and what order you would show each space. Your TrueTour acts just like that but in a digital sense so it’s important to run through your customer’s journey and what will appeal to them the most.
Let’s pay close attention to the order of their menu items. In the US, most people read from left to right so we can assume they’ll notice the top left item first, followed by the top right item, going left to right in each row. First, the start with 360º Photos, then 3D Tour, followed by Hotel Gallery, PDF gallery, Video Gallery, Map & Directions, Info & Links, Meeting Offer, RFP, and finally VR Instructions on the second page.

3D tours act great as a second menu item because once you capture their attention with the 360º photos you are inviting them to explore on their own. It’s exactly like they are physically visiting and touring your facilities at their own pace. They can all access the dollhouse view which it great as a quick overview of your hotel or for event planning.

The next item in the menu is the photo gallery. Although you’ll have wonderful 360º and 3D content to show off photos are a bit easier for your company to produce on a whim. Use this space as a way to showcase recent happenings or features at your location.

The PDF gallery is the spot to include all your PDF’s that you would typically send to your customers. For hotels it’s a wonderful place to hold any one-sheets. catalogs/brochures of the services you offer, hotel restaurant or catering menus, and more! Anything that you can send via mail or email can be added in here.

The video gallery is a wonderful place to host commercials or video assets that you’ve created for your space. In our example Pasea Hotel shows a stunning visual video that simply presents the experience to expect.

Once you’ve hooked them in with amazing content and imagery provide them with important information like the map & directions or additional info & links. Give them the details they need to make that final decision in the buying process.
Finally, wrap up the customer journey with a call to action. In the example you’ll find that Pasea Hotel created menu items for both a special offer and a request for proposal.
As you would with any form of advertising, marketing, or sales first begin by enticing your audience, peaking their interest, giving them valuable information to make their decision, and a clear call to action. This will make their customer journey easy and leave you with effective results.
This wraps up part 3 of our customer journey series. Stay tuned for parts 4 and 5 over next few weeks. For those of you also in the private event industry we will following a similar structure to this post as we dive into a event facility case study. Then we conclude this series in part 5 with ideas to enhance your customer journey using creative campaigns.
If you are finding this series helpful please let us know in the comments below. What other topics would you like to see us expand on with a series? We are happy to accommodate to any blog requests. Until next week!

